


Lifestyle /
Canada Day Crafts For Kids
Canada Day is the perfect time to celebrate your patriotism with easy activities that kids can help make.
Red and white and cute all over, these five quick crafts are simple to make and will bring a smile to your little one’s face. Grab your art supplies and get started!
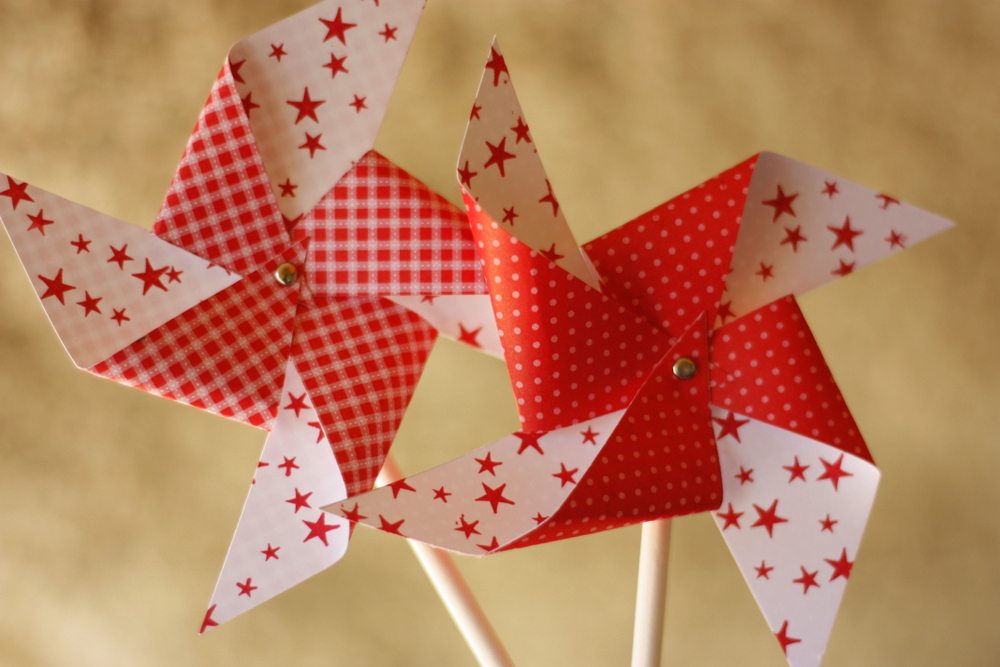
Canada Day Pinwheels
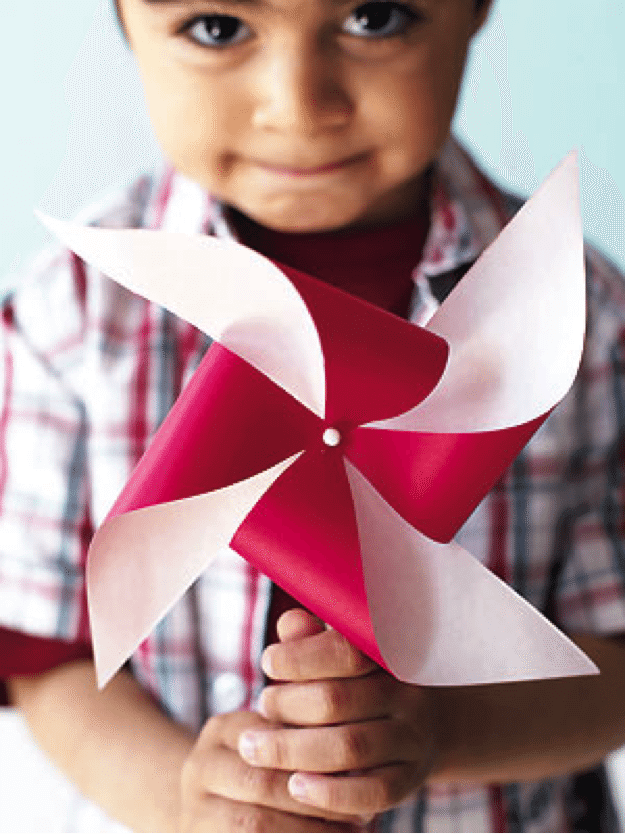
Canada Day pinwheels/ canadaday-fireworks
This craft is eco-friendly, as well as reusable, and it’s easy to make with stuff you already have around the house. They will be the main attraction at your outdoor event, and will keep children safe and entertained. Fill cups with colored stones and put a pinwheel in to create a fancy Canada Day centrepiece, or line the pinwheels along your driveway to welcome your guests.
Materials:
Paper
Printer
Coloring Materials
Unsharpened Pencil With Eraser
Push Pin/Straight Pin
Instructions:
Print or draw a Canada Day template of your choice.
Fold to make a square decorated on both sides; glue the sides.
Cut diagonally, not all the way to the middle.
Bend each corner to centre.
Push a pin through centre into the eraser of a pencil.
Blow edges to make the pinwheel spin.
Canada Day Beaver Hat
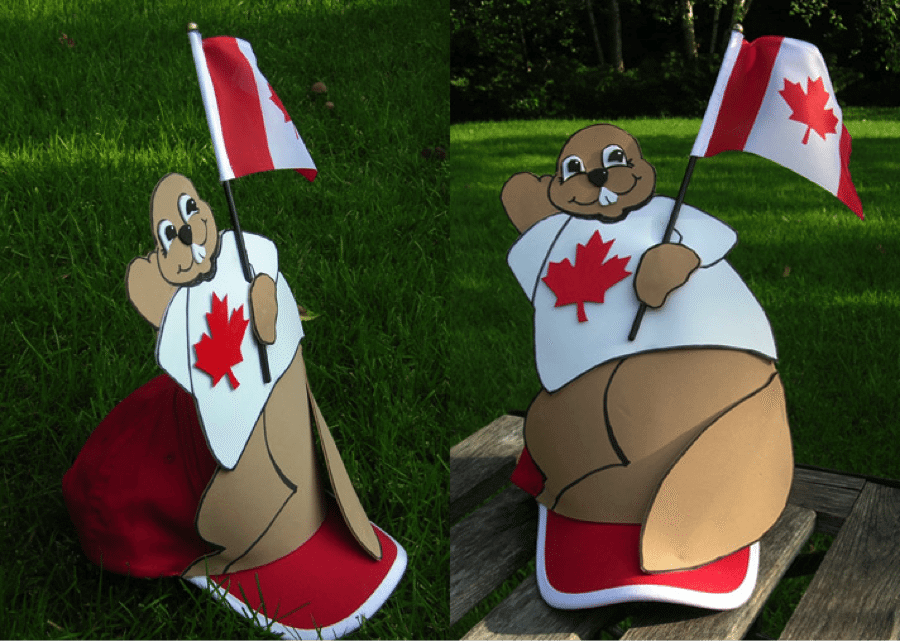
Beaver hat/ canadianliving
This is one craft that children will adore. This cute beaver hat will let children show off their creations while making for great photo opportunities. This craft takes a bit more time and effort, but it’s easy for children to help, and will be well worth it when you see the look of excitement from your child as they wear their new favourite hat.
Materials:
Small Canadian Flag
Red Baseball Cap
Craft Foam (9” x 12”): 2 brown, 1 white, 1/8 sheet black
Cardboard/Card Stock Sheet (9” x 12”)
Masking/Duct Tape
Tacky/White Glue
Low-Temperature Glue Gun
White Pipe Cleaner (12”)
Black Fine/Medium Permanent Marker
Paint (red, white)
Scissors
Pencil
Canada Day Beaver Hat Template
Instructions:
Print/draw beaver template (adjust size to fill piece of craft foam).
Trace beaver onto brown craft foam, cut out. Repeat with cardboard. Use a second brown craft foam sheet to trace paw and tail. Cut.
Trace T-shirt onto white craft foam. Cut.
Trace maple leaf onto red craft foam. Cut.
Trace eyes onto white & black craft foam. Cut.
Glue cardboard backing to back of beaver.
Use a black marker to outline all pieces of beaver, t-shirt, and face.
Glue facial parts (eyes, nose, teeth).
On backside of flag, bend pipe cleaner to run up the flagpole, holding in an outstretched position. Add glue to hold flag at top of flagpole.
Make holes in T-shirt, insert flag. Use tape to secure flag on back of shirt.
Glue T-shirt onto beaver.
Use gun glue to stick the crown of hat to the beaver.
Maple Leaf Scribble Lanterns

Canada Day lanterns/ valariebudayr
Scribble lanterns are an easy way for all of your children to contribute, as the steps are easy and fun to manage. The little ones get to scribble on paper with six to eight different colors, while the older ones can help you with tracing maple leaves. You can place LED lights inside of the lanterns to imitate the flickering of candles.
Materials:
18” x 12” Manila Drawing Paper
Tissue Paper (different colors)
Double Stick Tape and Scotch Tape
Glue Dots
Scissors
Poster Board
Pencil
Crayons
Instructions:
Scribble over Manila paper with different colours.
Fold bottom 1 1/2 – 2”.
On bottom fold, cut 1” slits along bottom up to fold line. Fold both sides of paper.
Fold down top. Trace maple leaf pattern on backside (no colour).
Cut pattern.
Cut square to cover leaf with tissue paper. Tape over cut out.
Hold paper with tissue facing you. Bring sides together by hooking tops into one another, taping into place. Use double-sided tape, put under top part overlapping. Adjust lantern so it is a cylinder.
Using top of lantern, place it on poster board, and trace a circle. Cut. This is the bottom of the lantern.
Turn lantern upside down, fringe on top. Put double stick tape on bottom.
Place glue dots around bottom posterboard piece of lantern. Place piece on top of double stick tape. Affix to lantern.
Place LED lights inside.
Canada Day Maple Leaf Headbands

Maple leaf headband/ walmartlivebetter
These headbands bring out the festive side of Canada Day, while letting your children play dress up in their own creations. Glitter, ribbons and maple leaves will make your child feel like the centre of attention.
Materials:
Plastic Headband
Scissors
Red Glitter Glue
Paint Brush
Red and White Pipe Cleaners and Ribbon
White Glue
Instructions:
Trace and cut two maple leaves, paint on glitter glue.
Wrap pipe cleaner around top of headband. Repeat with other cleaner.
Twist and twirl pipes to your design.
Tape ends of pipe cleaners to back of maple leaves.
Curl strands of ribbon, tape to back of leaves.
Featured Image: dawn-cosgrove
COMMENTS
YOU MAY ALSO LIKE
-

Beyond the Taj Mahal: 8 South Asian Places That Feel Like Walking Through History
-

8 Spring Bingeworthy Reads From The South Asian Diaspora
-

Exclusive Chat: Inside ‘Fly In The Chai’ With Author Zenia Wadhwani
-

The Ultimate North American Ramadan & Eid Guide To Gifting, Décor & Family Traditions
-

Escape The Polar Vortex: South Asia’s Dreamiest Winter Escapes
-

The Ultimate Guide To Cozy Winter Reading By South Asian Authors
-
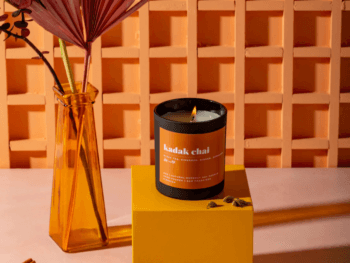
Move Over Hot Chocolate - Winter Belongs To The Saffron Latte & Masala Chai
-
Diwali Gift Guide: From ‘PajamaSutra’ To ‘Little Ladoo’ & More, A Gift For Everyone
-
The Ultimate Guide To South Asian-Inspired Fall Home Décor
-
This Fall’s Must-Reads: Diverse Stories By South Asian Authors
-

The Ayurvedic Guide To Allergy-Safe Desi School Lunches
-
Before The Frost: A Desi Gardener’s Guide To August In Canada
-
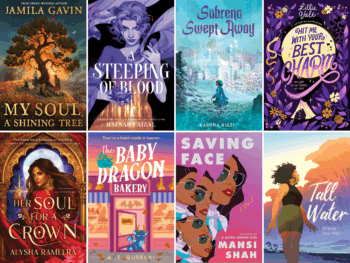
From Dragons To Desi Romance: 13 South Asian Books Heating Up Summer 2025
-
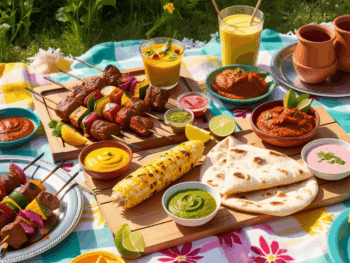
Picnic Like A Pro: Easy South Asian BBQ Recipes To Wow Everyone
-
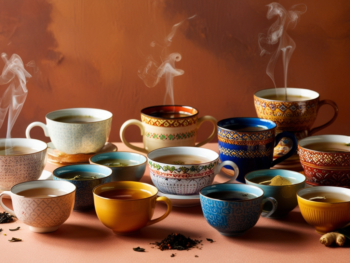
This Might Get Heated: The Ultimate Chai Ranking No One Asked For
-

The Ultimate Mother’s Day Gift Guide For Your Desi Mom
-

Ever Hosted A Desi Picnic? Here Is Your Ultimate Guide To Wowing Your Family & Friends
-
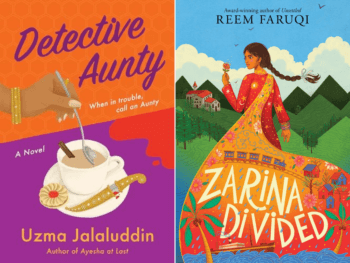
'Detective Aunty' & 9 Other Must-Read Spring 2025 Books By South Asian Authors
-

Beyond Samosas: Healthy & Satisfying Ramadan Suhoor And Iftar Recipes!
-
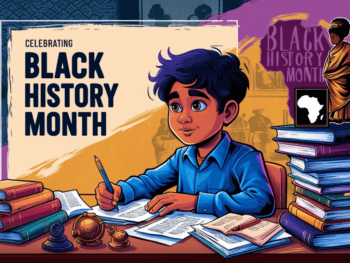
6 Ways South Asian Parents Can Teach Their Children About Black History Month
-

Rose Barfi, Chocolate Naan Khatai & More: South Asian Dessert Recipes For Valentine's Day
-

From Birth Charts To Lunar Calendars: Setting Intentions For 2025 With South Asian Traditions
-

How To Host The Perfect South Asian Holiday Dinner
-
ANOKHI's Holiday Gift Guide For Thoughtful Desi Presents For The Home & Beyond
-
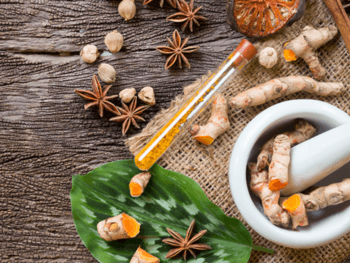
Not Into Flu Shots? Try These Centuries-Old Desi Home Remedies Instead!
-

Diwali Gift Guide: Barbie® Diwali Doll & 8 More Unique South Asian Gift Ideas
-

From Turkey To Tadka: Desi-Inspired Thanksgiving Recipes
-

Mommy's Time-Out: How To Reclaim Your Zen After The Back-to-School Scramble
-

Khichdi Cups & 5 South Asian School Lunch Recipes For Busy Desi Parents
-

6 Complaints Desi Grandparents Have About Keeping Pets & How You Can Counter Them
-
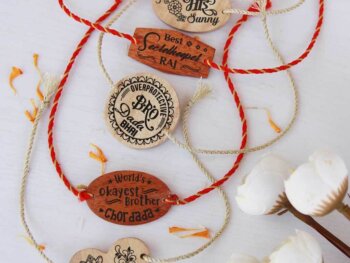
Raksha Bandhan Gift Guide: Celebrate The Festival With A Modern Twist!
-
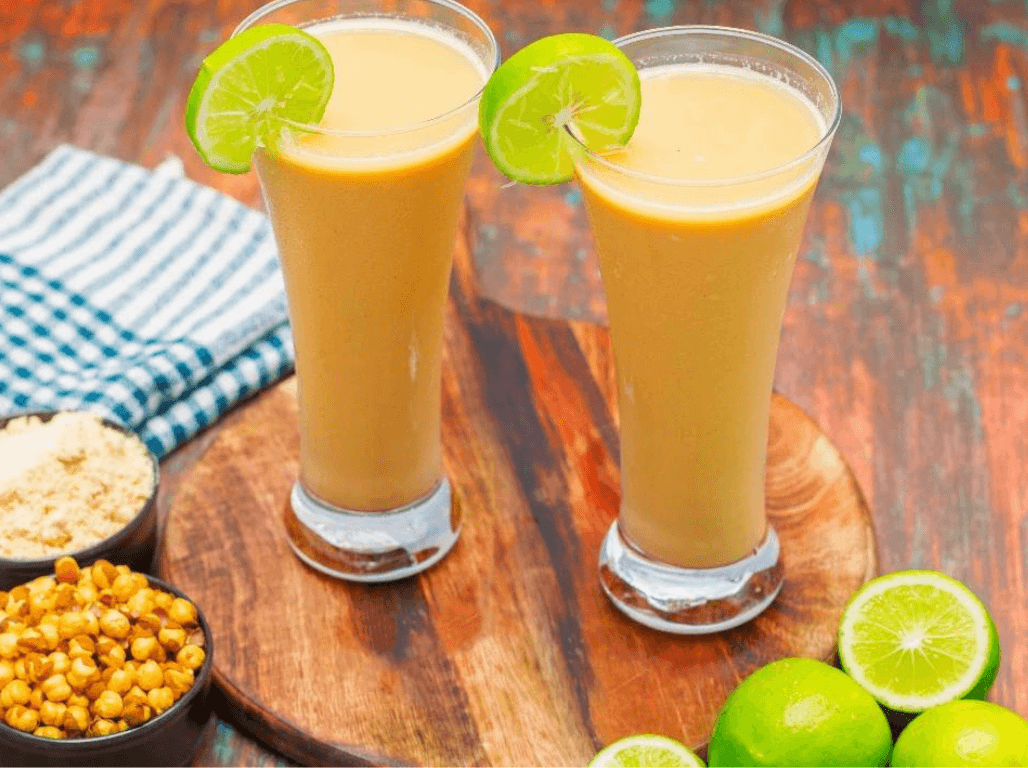
Summer Elixirs: Healthy South Asian Cooling Drink Recipes To Beat The Heat
-
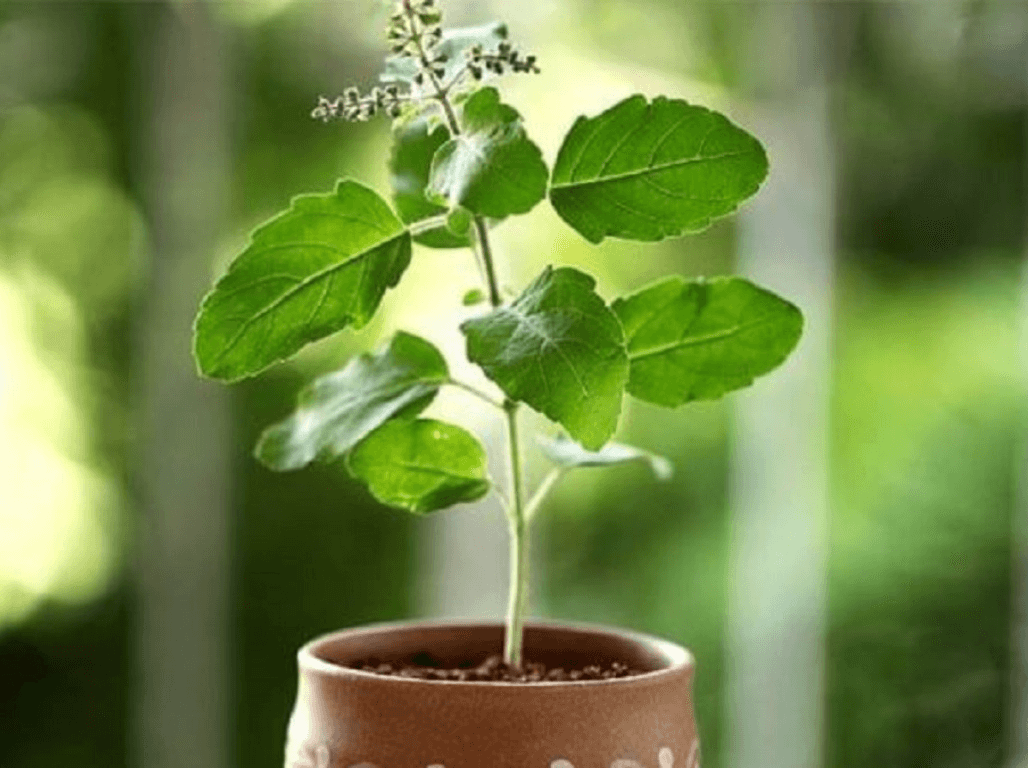
Stay Cool: Build a Summer Garden Oasis At Home With Tulsi & Shade
-

Celebrating International Yoga Day: Find Your Balance Through Chakra Meditation
-

Spice Up Your Summer BBQ With These 5 Mouthwatering South Asian Recipes
-

South Asian Heritage Month: Journey Through Time With 8 Iconic South Asian Travel Destinations
-

How To Add Ancient South Asian Spiritual Cleansing Rituals To Modern Spring Cleaning Techniques
-

Toronto's Living Luxe Design Show Sets a New Standard for Luxury Exhibitions
-

Savouring South Asian Style: Elevate Your Home Decor with Cultural Flair
-

6 Ways To Create Fun Quality Time With Your Kids & Parents That Both Will Love!
-
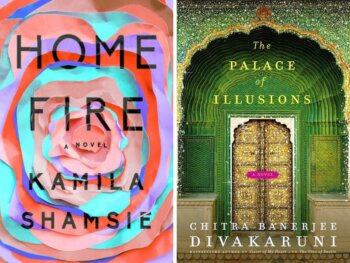
Celebrating South Asian Literature: Must-Read Books by Female Authors
-

Flavourful Festivities: Traditional Holi Recipes To Spice Up Your Table
-

The Living Luxe Design Show Presented By JennAir Announces Powerhouse Program Of Speakers
-

7 Ways Yoga Will Save Your Mental Health
-

Ask Dr. Monica Vermani: How Can I Convince My Friend That Her Threatening Boyfriend Is The Problem, Not Me?
-
10 Tips To Manage & Survive Long-Distance Relationships
-

Ask Dr. Monica Vermani: I'm Afraid My Childhood Bully Will Be Back In My Life, What Do I Do?
-
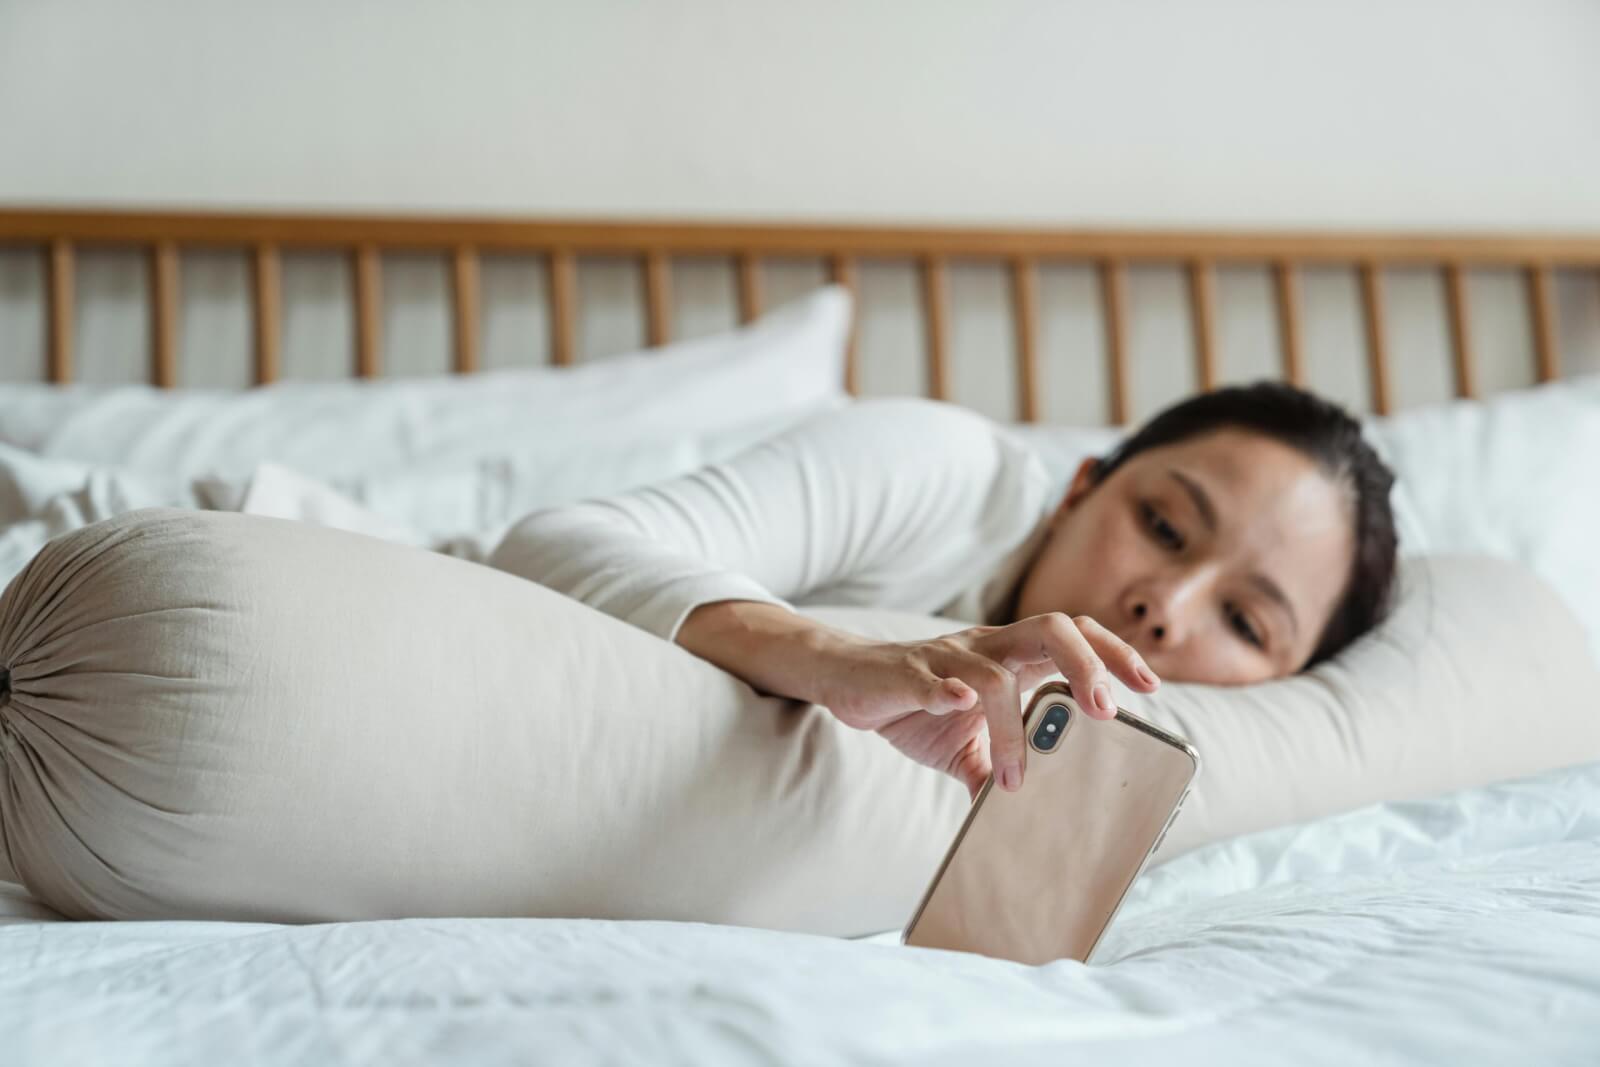
Ask Dr. Monica Vermani: How Do I Create "Me Time" In My Demanding Life?
-

Hot Spot Alert: Mishree Cocktails & Cuisine Exhilarates With South Asian X Middle Eastern Cuisine
-

BioAro Founder Dr. Anmol Kapoor Wants You To Be The CEO Of Your Health
-

Savour the Holidays With This Paneer Pakora Recipe By KFI Sauces!
-

Here's How To Craft And Achieve Meaningful New Year's Resolutions
-

Snack It Up This Holiday Season with Indian-Inspired Potato Wedges by KFI Sauces
-

Butter Chicken Nachos Recipe By KFI Sauces Is Perfect For Your Holiday Spread
-

Ask Dr. Monica Vermani: How Do I Tell My Friend She's Taking My Emotional Support For Granted?
-

Anjali Pathak of Patak's Shares Her Favourite Recipes For The Holiday Season
-

Ask Dr. Monica Vermani: Why Does Our Family Get Togethers Always End With A Fight?
-

Ask Dr. Monica Vermani: How Do I Tell My Sis-In-Law To Stop Intruding In My Daughter's Wedding Plans?
-

Event Alert: The Auric Living Conference Brings Holistic Healing To Toronto
-

Ask Dr. Monica Vermani: I'm On The Outs With My Friend Because I Supported Her Breakup What Do I Do?